POWER UP YOUR MODULE
Before patching cables the very first step is making sure your system has reliable power and that your module is connected correctly. Powering a module wrong can damage it but with a couple of checks, you’ll be fine.
The case power supply
Inside your case, usually a row of connectors on a bus board or power distribution board.
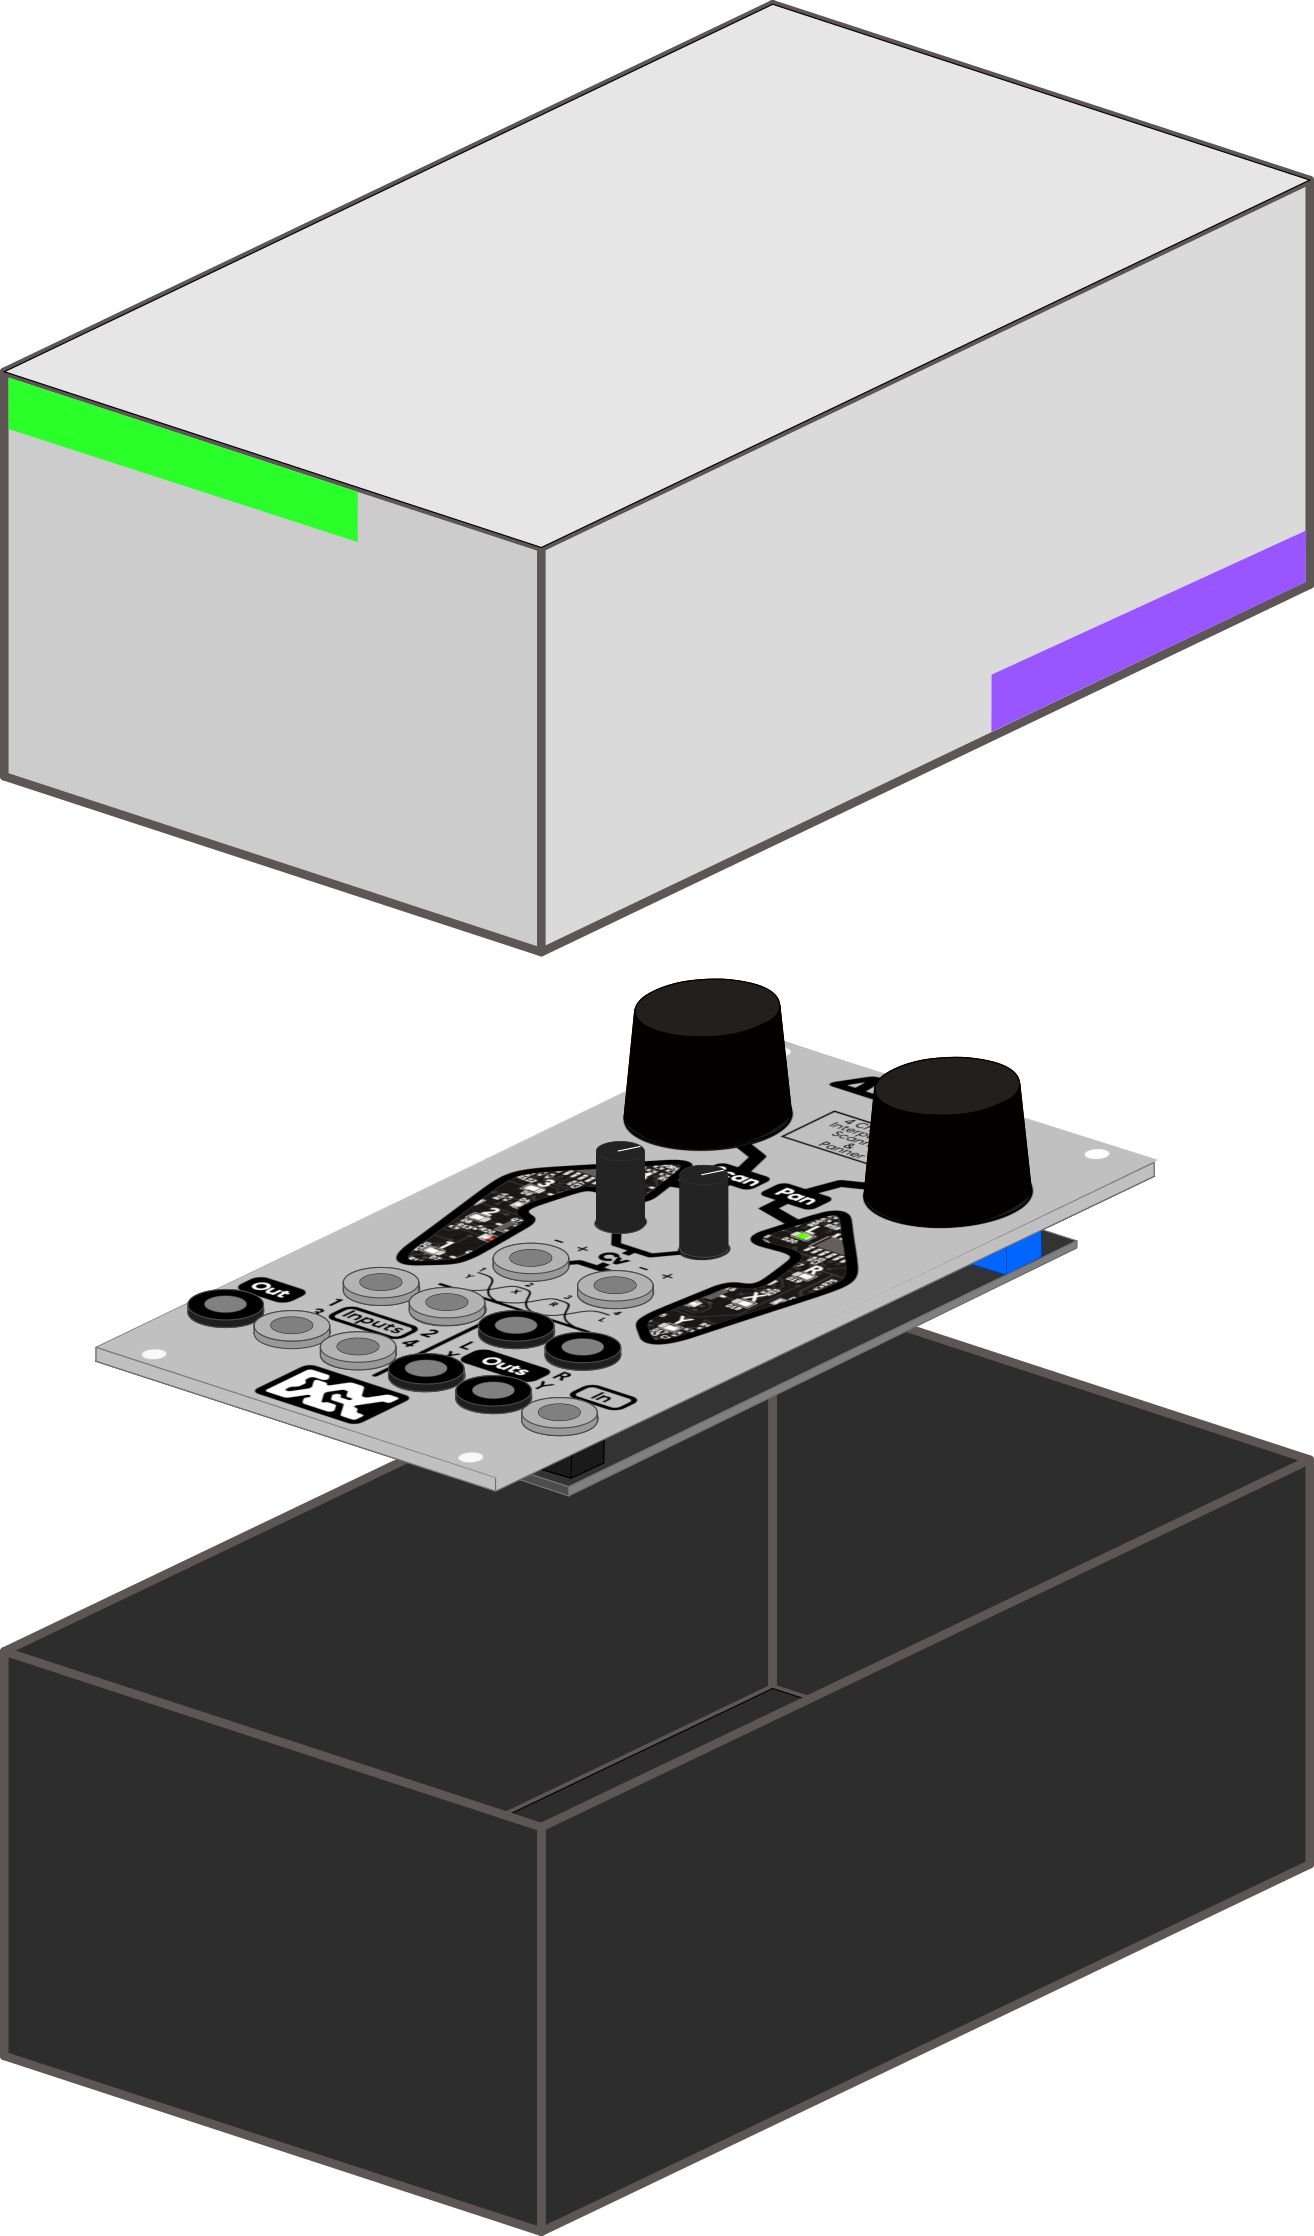
The ribbon cable
Flat, gray, often with a red stripe along one edge. (pic 1)
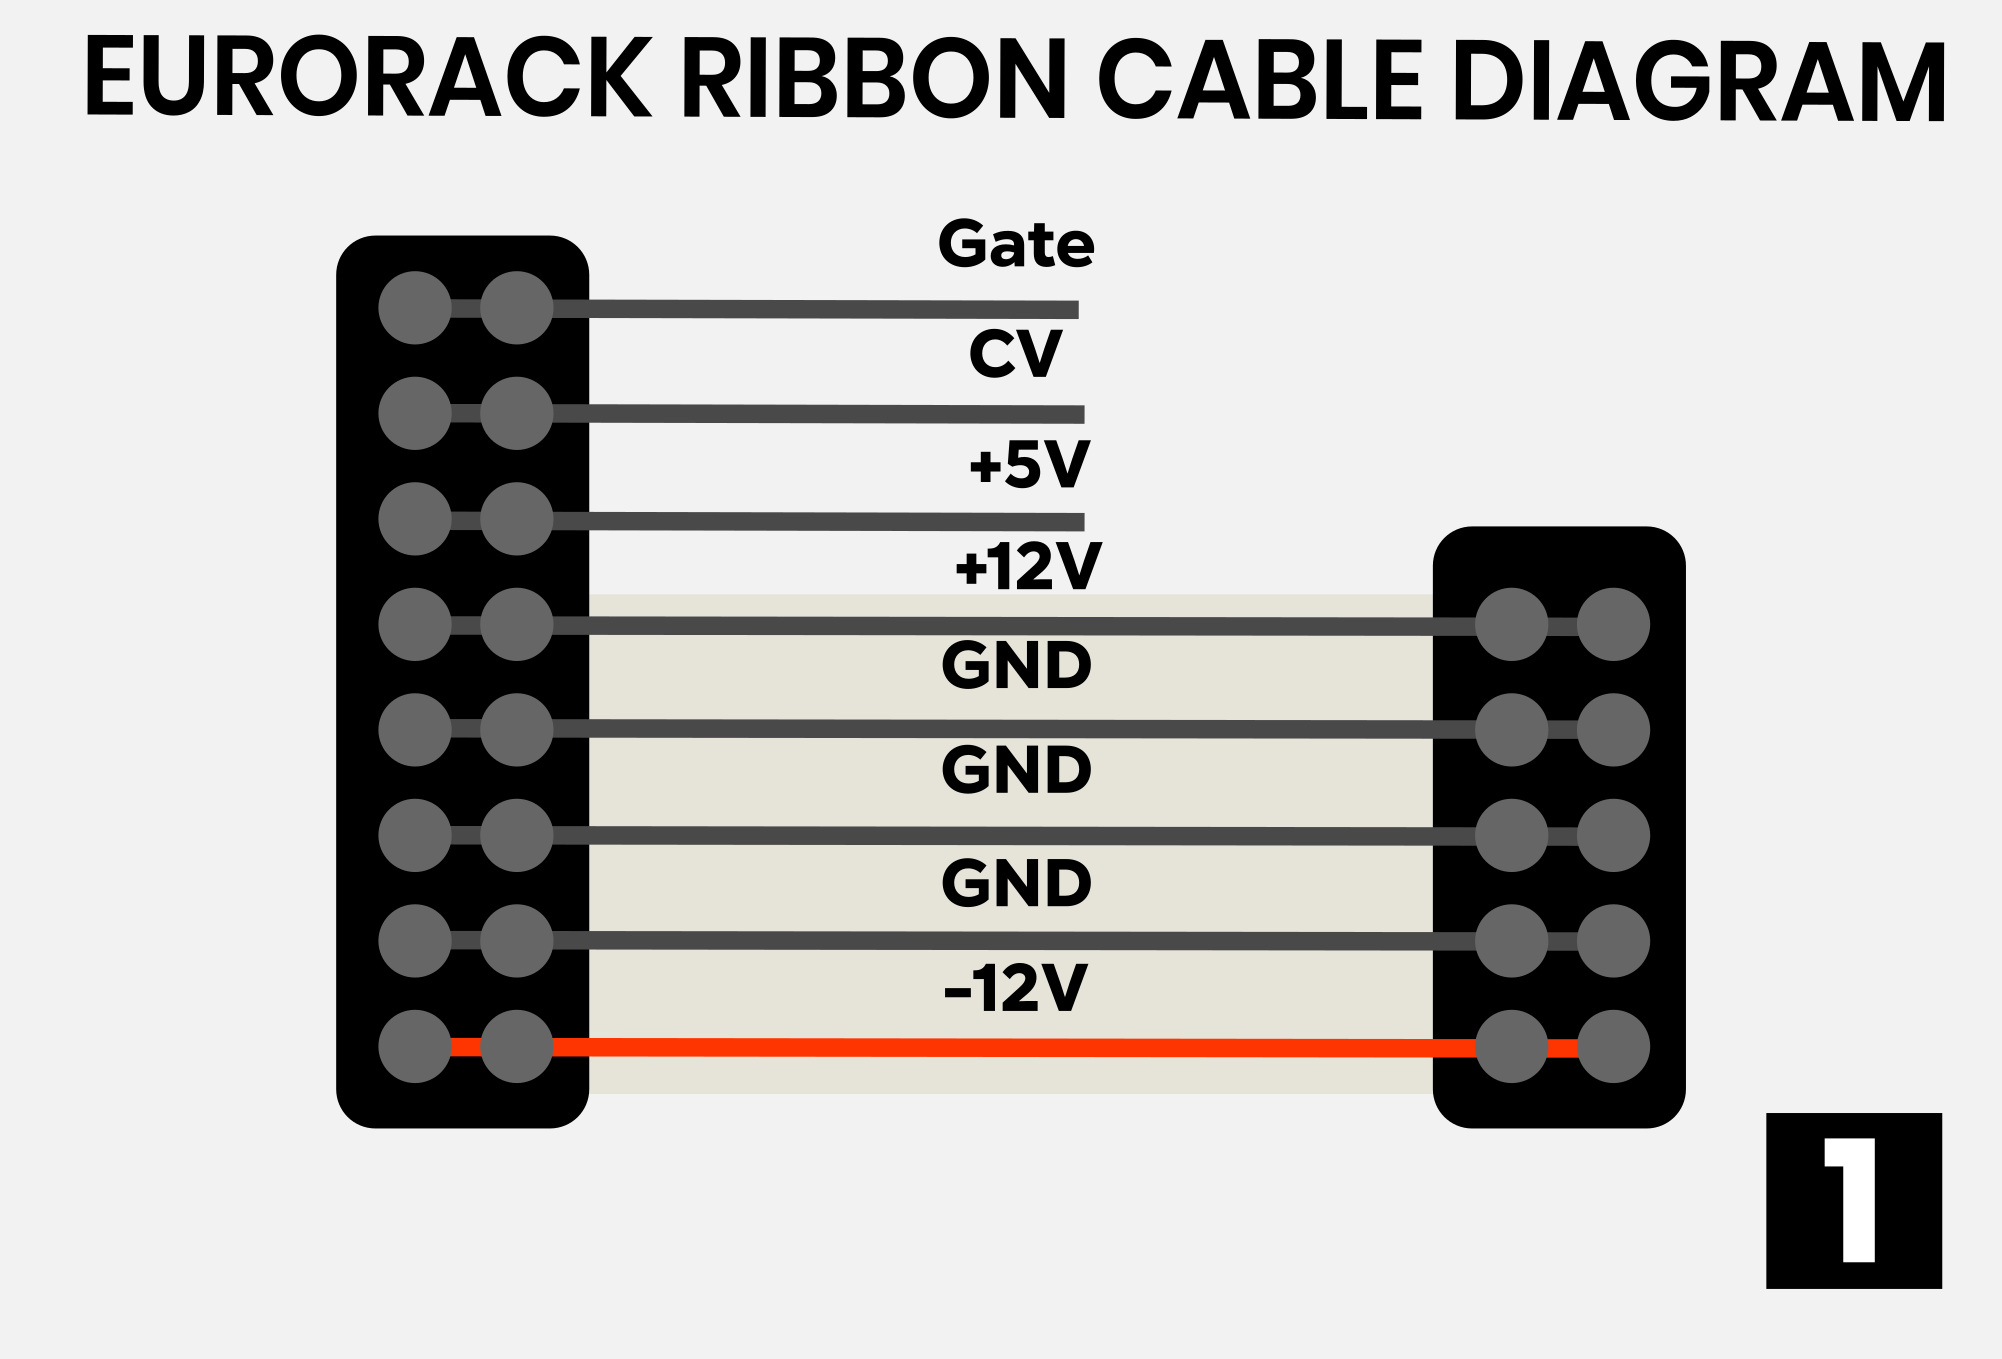
The module power header
A little 10-pin or 16-pin connector on the back of the module. (pic 2)
Pro tip: the red stripe is not decoration, it’s there to show you where the negative (-12V) side of the cable is.
MEET THE PARTS
STEP-BY-STEP CONNECTING YOUR MODULE
1. Turn off your case. Never connect a module to live power.
2. Check the cable. Find the red stripe. That stripe marks -12V.
3. Find the module’s header. It’s usually labeled “-12V or RED” or has a line showing where the stripe should go.
4. Plug the cable into the module. Make sure the red stripe lines up with the -12V or RED marking.
If the connector header is boxed like in the pic [2] the cable should only fit one way.
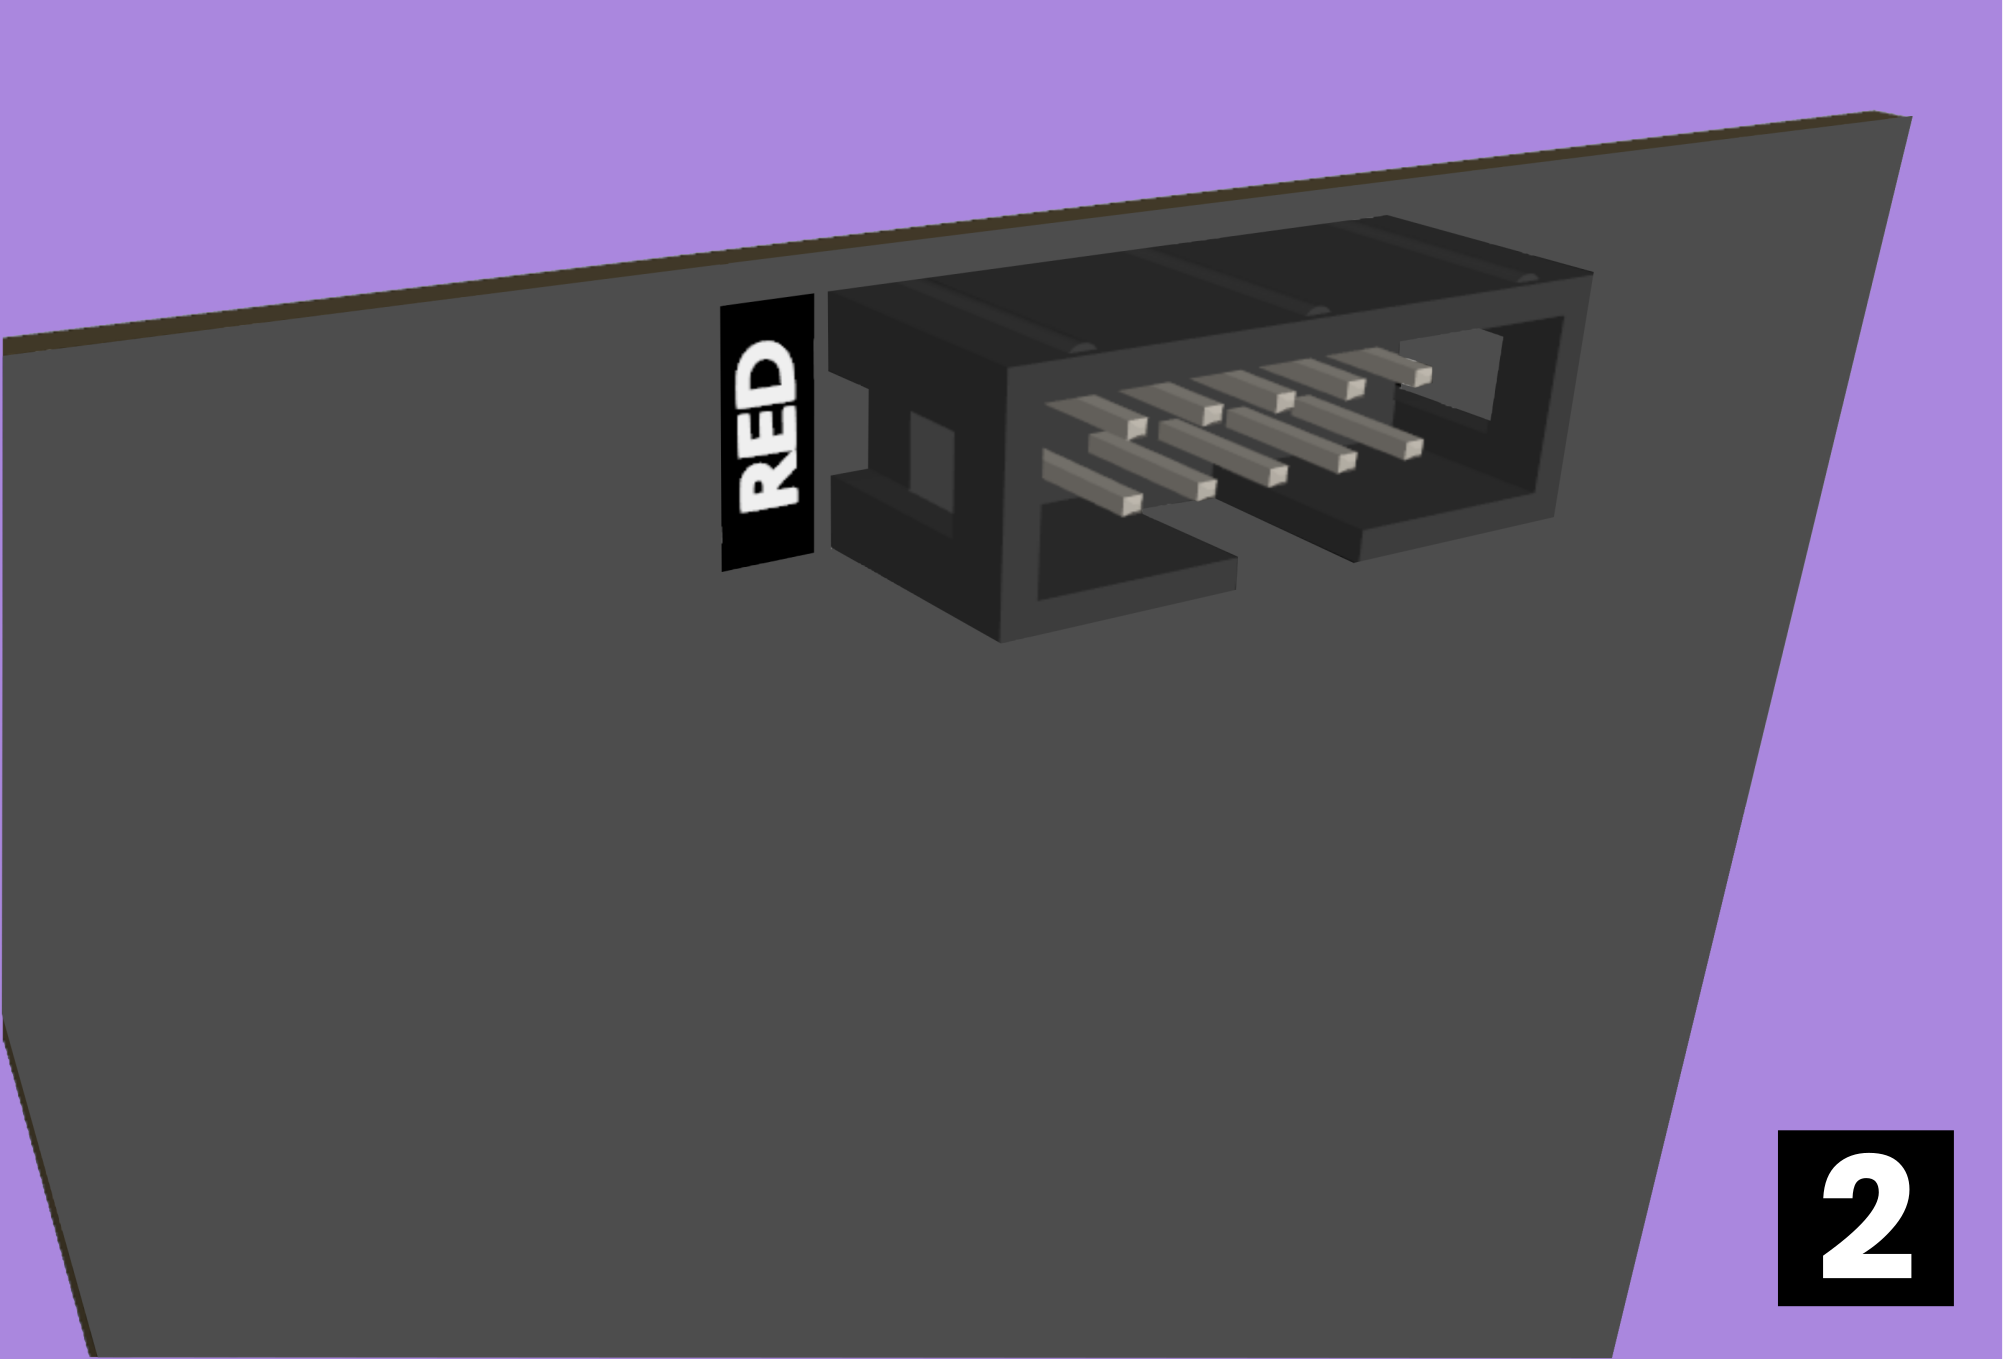
5. Plug the cable into one of the IDC connectors inside the case. Remember, the red stripe = –12V. Most bus boards use boxed IDC connectors, which makes it difficult to plug the cable in the wrong way "see pic [3]"
6. Do a quick sanity check. Both ends stripe-aligned? Everything seated? Good.
7. Power on your case. If all went well, your module should light up and be ready to play!
UNDERSTAND YOUR POWER SUPPLY
A solid power supply is the backbone of any Eurorack setup.
Cheap supplies can add noise, cause tuning problems, or even shut your system down mid-performance.
Eurorack systems run on three rails: +12V, -12V, and +5V. Each module consumes current from these rails (measured in milliamps, mA). Most draw mainly from +12V, and many don’t need +5V at all. Your supply has limits for each rail, so make sure its maximum output is higher than the combined needs of all your modules.
Tools like ModularGrid can help calculate this. Always leave some headroom, power supplies perform less reliably when pushed to their limits. Invest in a good power supply. It reduces noise, prevents weird malfunctions, and leaves room for expanding your rack.
Upside-down cables
This is the no. 1 mistake. Stripe always to -12V.
Offset connections
On some modules, and on some bus boards used in certain cases, the ribbon cable can be shifted off by one row of pins which prevents proper power delivery. With Exay-One modules, you don’t have to worry about this on the module, we use IDC box connectors, which only allow the cable to fit the correct way. That means no accidental “one-pin off” connections.
Different headers
Some modules use 10-pin, some 16-pin.
don’t panic, it’s normal. Just keep the stripe on -12V.
THINGS TO WATCH OUT FOR
The module doesn’t power on? Turn off, recheck the cable orientation. Still not working? Try another ribbon cable or another header on your bus board. Smell smoke or hear a pop? Power down immediately and check connections.
IF SOMETHING SEEMS WRONG
FINAL THOUGHTS
Installing a Eurorack module it’s just about lining up the red stripe with the -12V marking and double-checking before you flip the switch. Once it’s powered safely, you’re ready to patch and make music.